In this post I am going to guide you through the process of installing ComfyUI on Mac Silicon. As of this writing, your Mac has a silicon processor if it was introduced in 2021 or later.
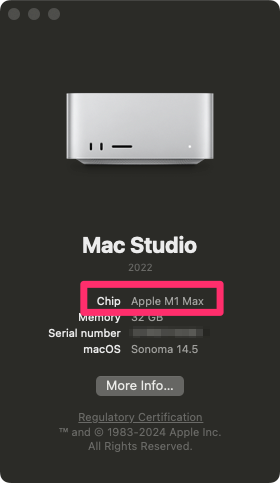
You can check for yourself by clicking on the Apple logo near the top left of your screen, and selecting about this Mac. If the chip section of this box says Apple in the chip section, you have Apple silicon and this guide is for you. If it says anything else, these instructions are not for you.

Prerequisites for installing ComfyUI
In this section we are going to setup some of the libraries you are going to need for running ComfyUI on your computer.
Running the most up to date OS is helpful when installing these packages. You want to make sure that you are at least running Mac OS 12.3 or later.
If you are unfamiliar with the command prompt, now is the time to get to know it a bit better. On the Mac, your default command prompt app is called terminal. Open it using finder, by clicking on Applications, Utilities and then Terminal.
A word of caution when using the terminal. You can cause massive damage to your computer by entering the wrong commands. Please always consider the source before entering commands.
First up, install x-code command line tools:
xcode-select --installNext up is installing PyTorch. This package allows you to take advantage of the Mac Silicon when running ComfyUI.
Check on the version of python installed on your computer. In the command prompt type:
python3 --versionIf 3.7 or later, you are good to go.
Double check that pip is installed, by typing:
pip3 --versionAs long as you do not receive a message telling you that pip is not installed, you are all set.
I’ve found that the default version of python and pip work well. If you are running into problems here, I recommend using homebrew versions instead. Here is an article on how to install python via homebrew.
Now install PyTorch with this command:
pip3 install --pre torch torchvision torchaudio --extra-index-url https://download.pytorch.org/whl/nightly/cpuHere is an easy way to check if the libraries were installed properly.
git clone https://github.com/itsrobrock/verify-mps.gitThen change the directory you are working in:
cd verify-mpsAnd finally:
python3 verify.pyIf your output reads like this:
tensor([1.], device='mps:0')You are all set. If not, you did not properly install the package. Please review the steps above and make sure you followed the directions.
If you are still having issues, leave a comment below, or message me on x.
Installing ComfyUI
It’s game time! Let’s now install ComfyUI.
Navigate to the folder/location on your Mac where you want to install ComfyUI.
git clone https://github.com/comfyanonymous/ComfyUI.gitNow change directories:
cd ComfyUIWe are going to use pip again to install all of the requirements:
pip3 install -r requirements.txtAgain, I am assuming you are using the system installed pip, which you call using pip3. If you have installed pip via another method, make sure you are calling it correctly.
If you have not received any errors, you are ready to start ComfyUI on your Mac.
python3 main.pyAssuming all worked correctly, you should see the address for where ComfyUI is now running. Copy and paste that into your browser. Congrats, but you are not done.

Loading Models into Your ComfyUI Install
You’ve made it a long way, but you are not done yet. Now we need to download models for use on your local machine.
You can find pretty much every open source model on huggingface.
I am going to recommend that you download and use this checkpoint.
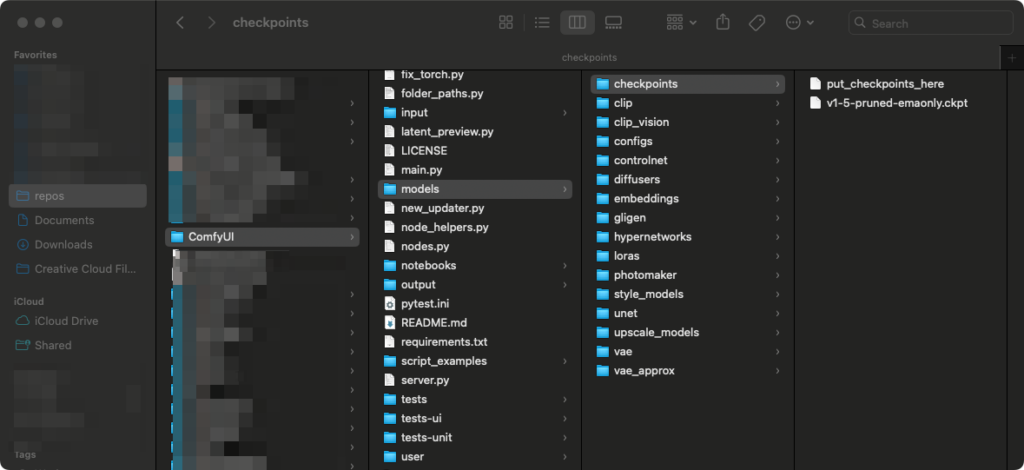
Once downloaded open the folder inside of your ComfyUI download and go to models / checkpoints and the model there.

If you already have the checkpoints downloaded / don’t want to move them into this folder, you can open the file extra_model_paths.yaml.example. Add the folder you want to use to the checkpoints line and rename the file to extra_model_paths.yaml
Make sure you have stopped the ComfyUI process, then reissue the same command to restart it.
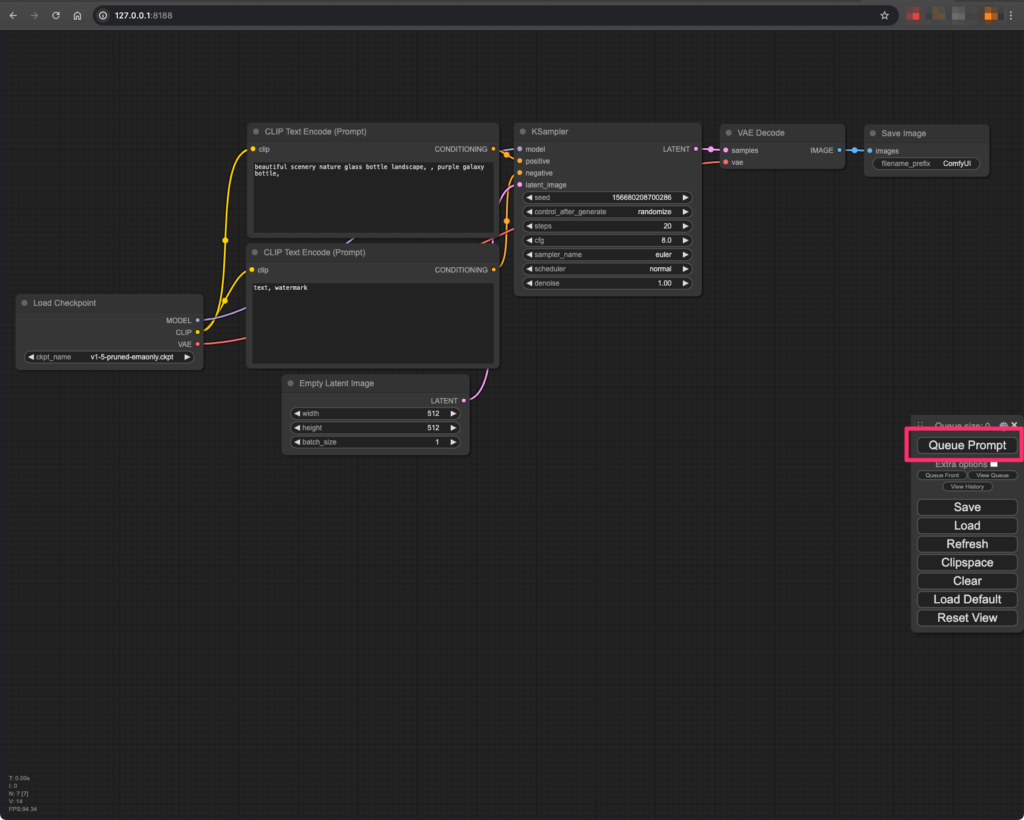
python3 main.pyClick on Queue Prompt near the right of the screen and wait for the image to generate.

Congrats! You are on your way.
Here is the first image generated by the default prompts in this ComfyUI installation:

If you are not getting an image to generate, check in the terminal for any errors. If you can’t get it working, leave a comment or message me on x.
Leave a Reply